Artificial Grass with Woven Fabric Backing Installation Guide
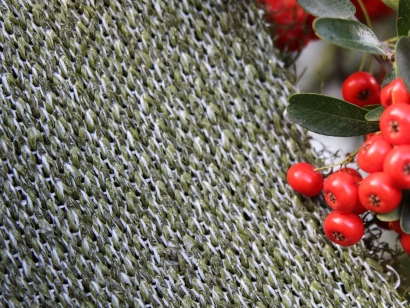
Most turf products have a double backing system made of latex or urethane, but some consist only of woven fabric backing or geotextile. This type of backing adds enhanced elasticity and drainage, weigh significantly less than heavy perforated urethane, yet, it's not as popular as heavy-duty backings, and more challenging to install.
Please notice that there are no stitch lines on the woven (netted) backing. Consequently, more care and attention than usual will need to be devoted to its preparation, allocation, and seaming. To install turf, first, remove the manufactured edges (selvage). To do this:
- Unfold the roll of turf.
- Cut along the blue colored line with carpet shears. (By using carpet shears instead of a top cutter, the yarn will not run at the edge).
(After removing the manufactured edges, you may need to cut the roll. To trim the turf, move on to step 3. To continue without cutting, continue to step 11.)
- Determine the desired width of the finished lot of turf.
- Flip the roll over so that it lies flat on the ground with the backing facing upward.
- At the top of the length of the roll, measure (with measuring tape) from the edge of the length side to the desired width determined in step 3, and place a mark (point A).
- Repeat step 5 at the bottom of the length of the roll (point B).
- Cut a small slit in the roll at point A and point B.
- Apply a chalk line from point A to point B down the length of the roll. (This step requires two people to hold the chalk line at each end of the roll.)
- Trim the roll along the chalk line with a top cutter. (Make sure not to stretch the roll (backing) in the process.)
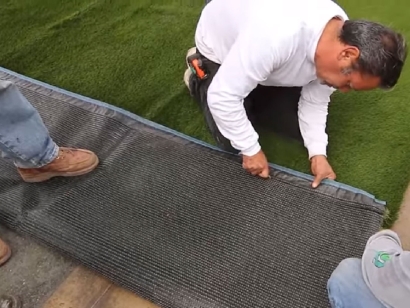
- Flip the finished lot of turf over so that the fibers face upwards.
- Place the finished lot in the appropriate position in the installation sector.
- Fasten and seam the finished lot. Use staples only and apply them to the seam and the edge of the finished lot.
Critical note: The backing is very elastic and can easily be stretched and crumpled while kneeling on it. Accordingly, be sure to refrain from excessive movements while standing/kneeling on the area because these movements will stretch and/or crumple the turf and produce a crooked seam line. (One incidental convenience of woven backing inherent elasticity is that it makes seaming easier!)
- Tailor the turf to conform with the perimeter of the installation zone. Use carpet shears (rather than a top cutter) when cutting the turf around the perimeter. Again, be sure not to stretch or scrunch the turf.
- Apply a minimum of 2-3 pounds per square foot of ZeoFill to the finished turf installation. Apply more ZeoFill on the seams and edges.